Learn You a Game Jam 2024 Devlog
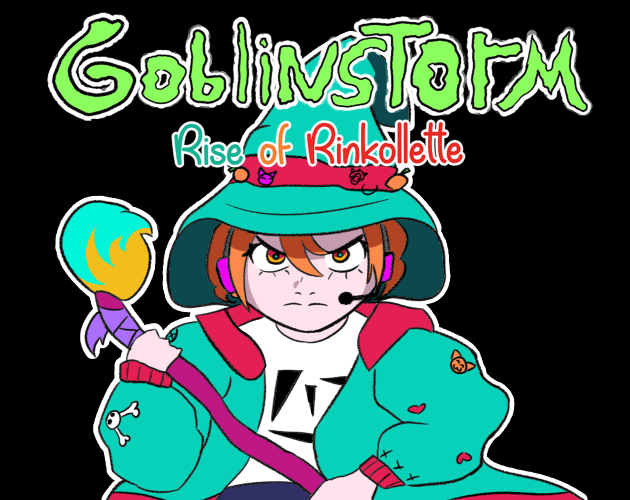
The following is an account of my journey planning and building Goblinstorm: Rise of Rinkollette for Learn You a Game Jam 2024.
Source code the game can be found at https://github.com/MrOnosa/learn-you-a-game-jam-2024/
Team
- MrOnosa
- Urushiana
- Romulus4444
- Their blog is posted in the description of this video - Goblinstorm: Rise of Rinkollette OST
- Artiks
- Their process - Creating the Goblinstorm title screen and cover image
- Kay
I've only participated in one other game jam in my life, which was Pirate Software's back in January. While I did end up submitting Flame City, I wasn't thrilled with my performance. This time was going to be different. This time, I was going to join a team and build a complete game.

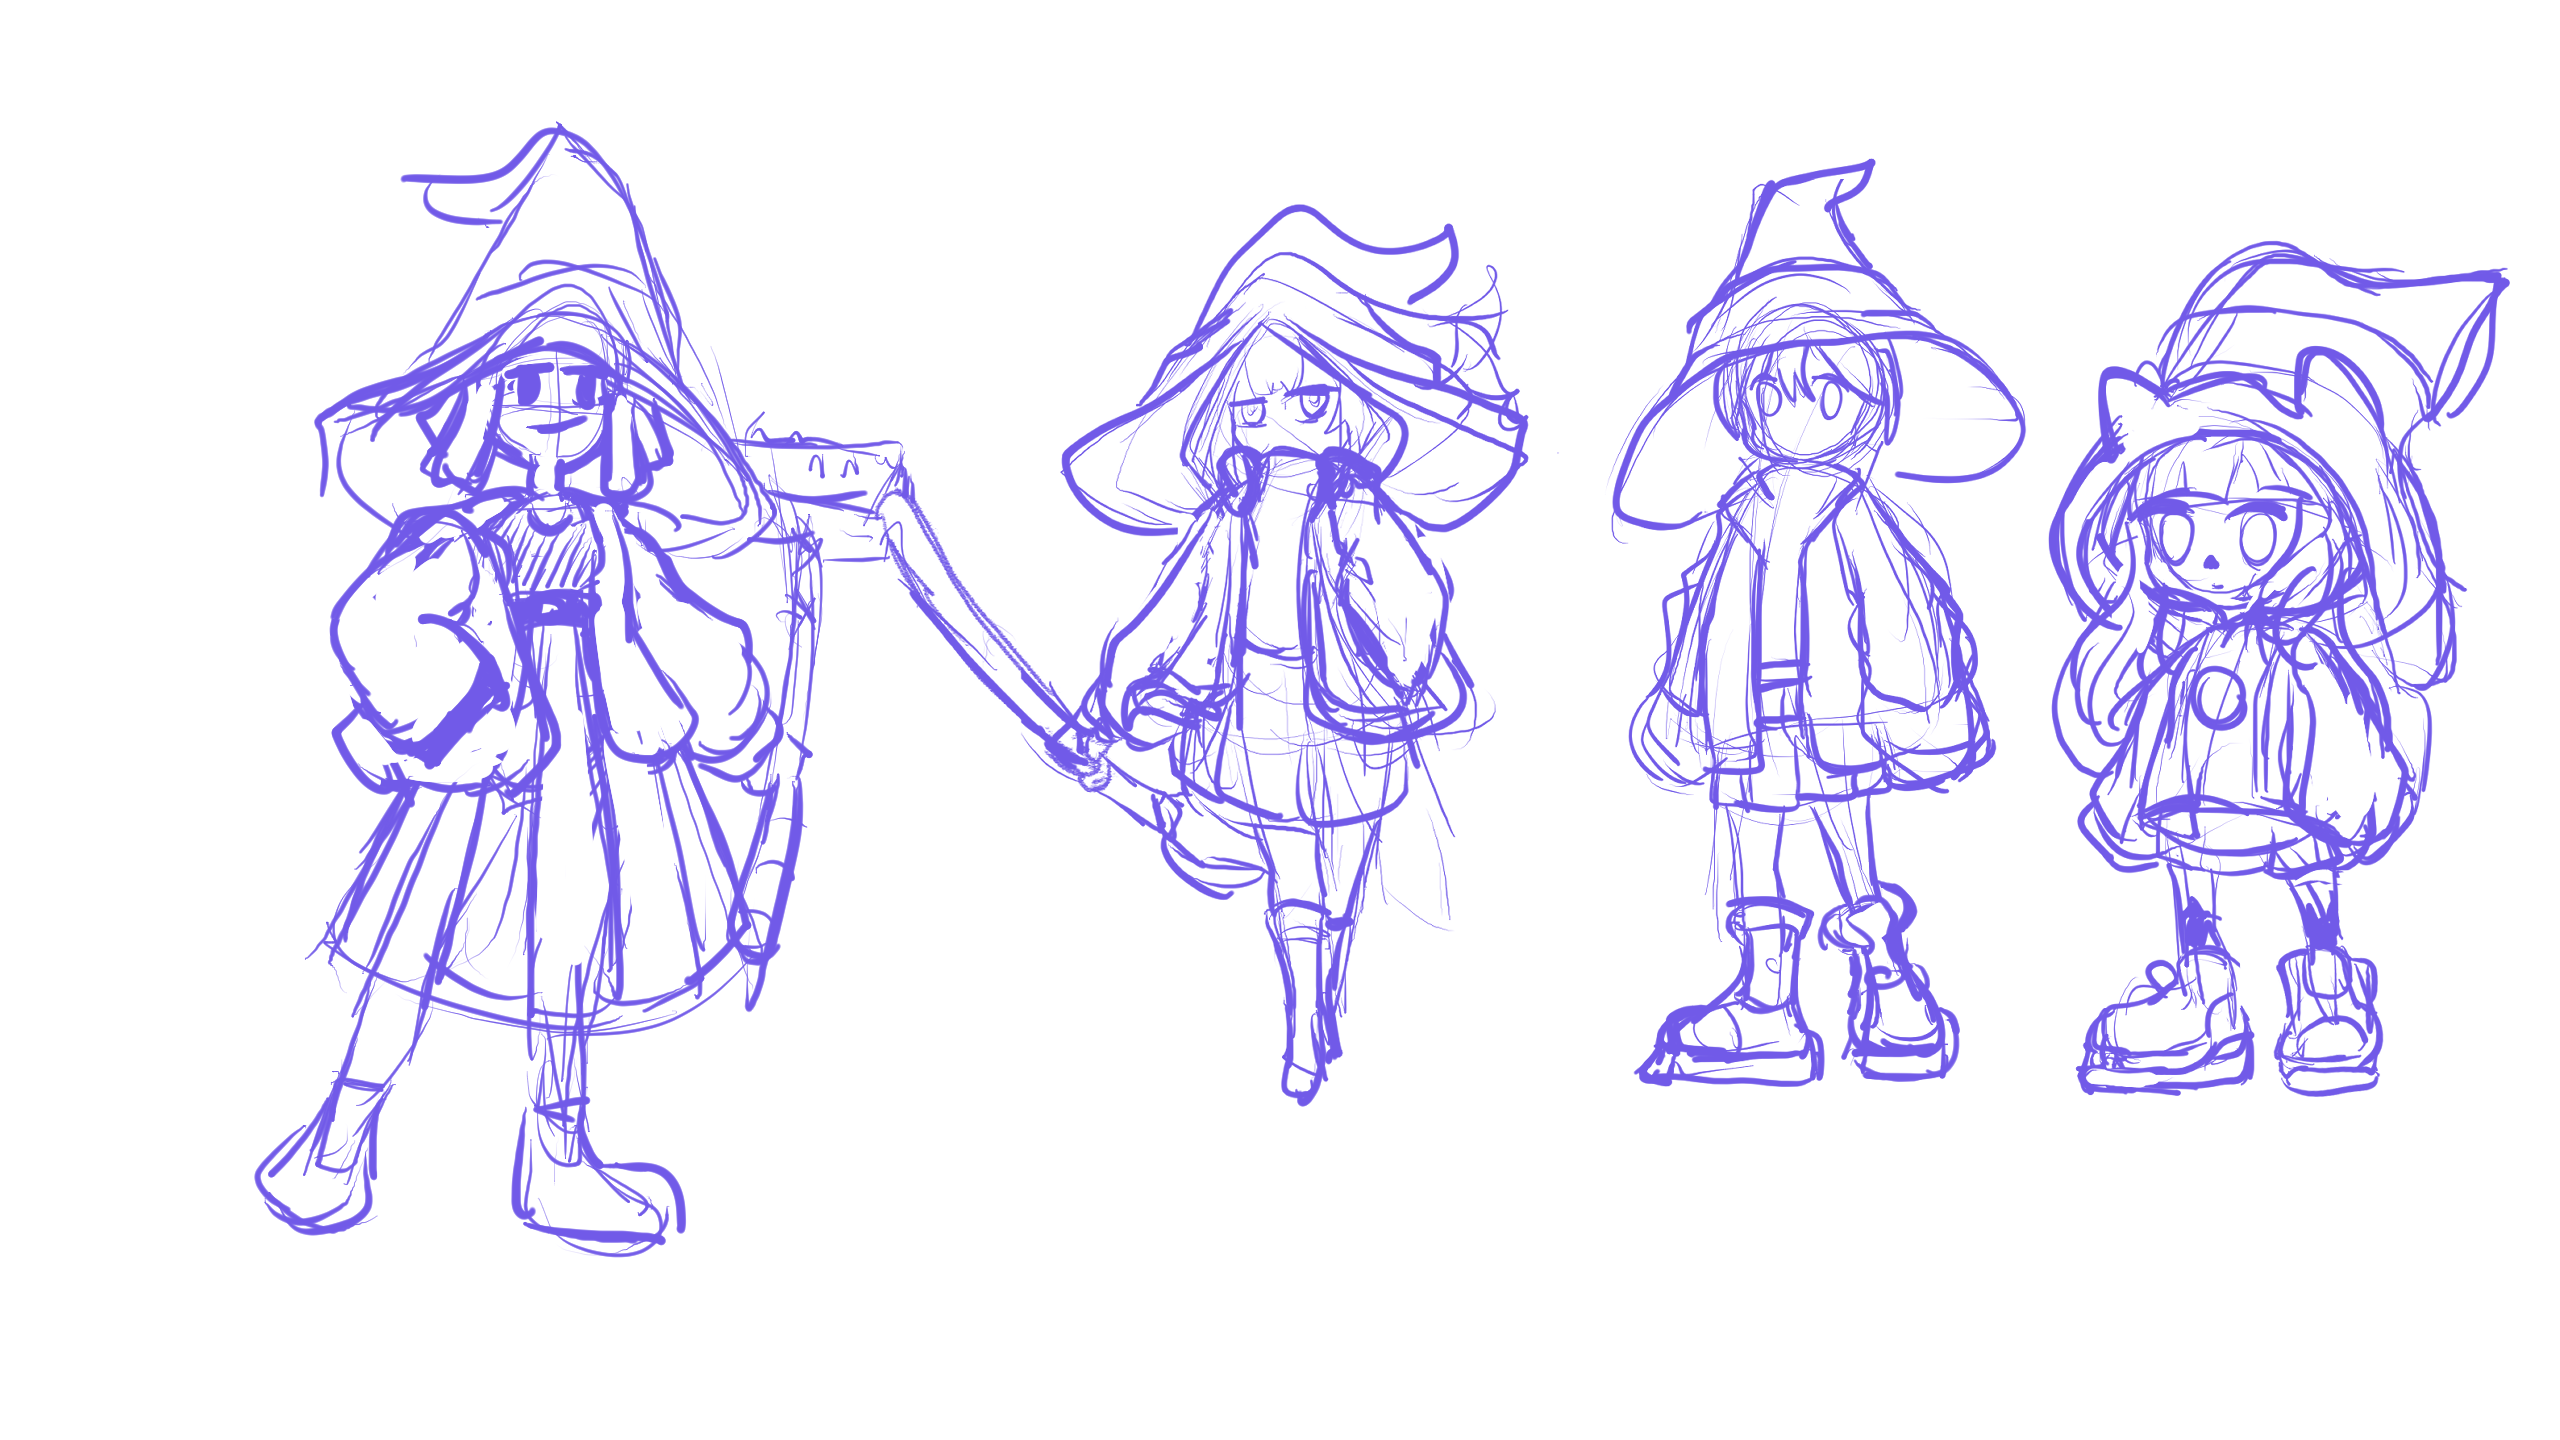
So, I set out to join a team so that I could learn from a veteran game developer. I posted in TheCaptainCoder's Discord saying I was a programmer looking for a group. I was willing and eager to help out! Well, it turns out, I ended up _being_ the veteran game developer, relatively speaking. An artist, Urushianaki, and a programmer, Kay, asked to join me. They have never worked on a game before and wanted to learn how to do it. I decided to go with the flow and say, "Let's do it!"
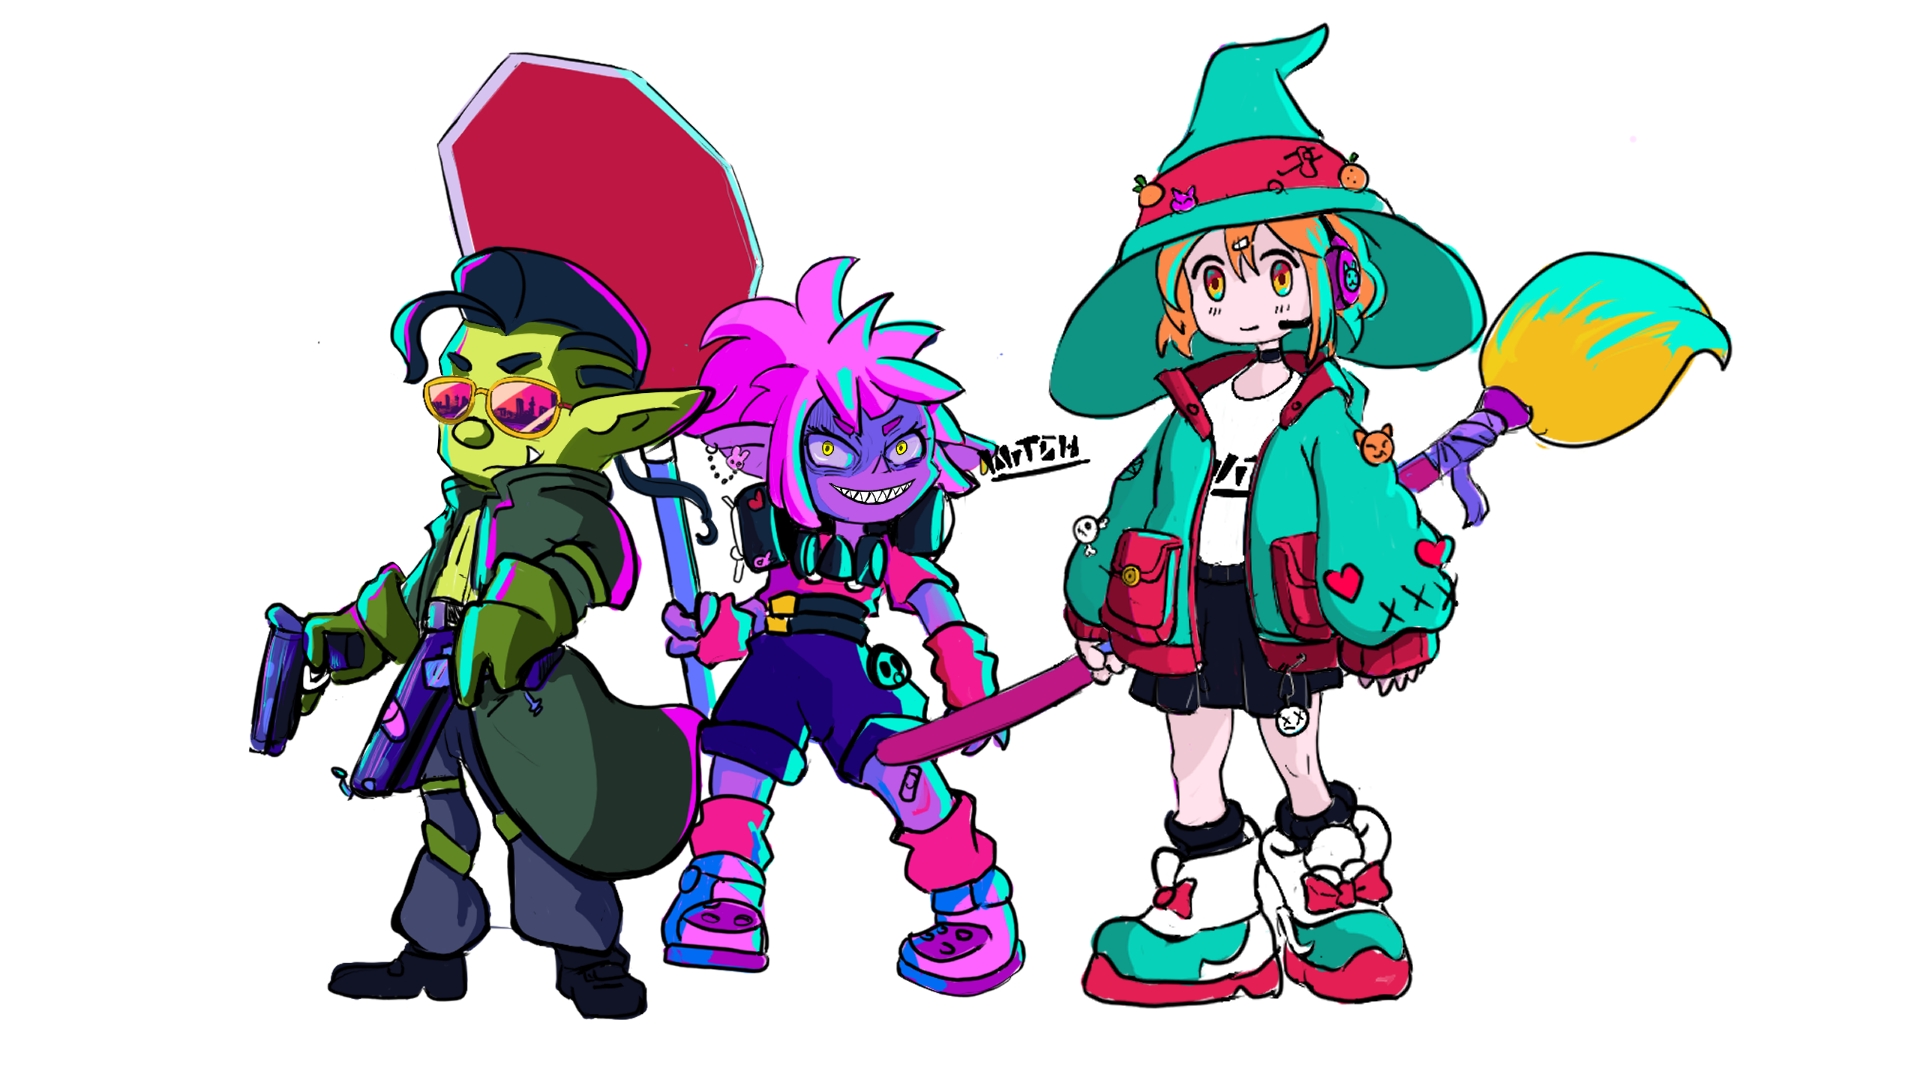
I asked my buddy, Artiks, if he wanted to help make a game with us. I knew his artistic talents would come in handy. He hastily agreed. And not long after that, another buddy, Romulus4444, mentioned they participated in a game jam before. I asked him if he wanted to contribute to our team, and after just a bit of arm twisting, he agreed to write a musical score for the game.
Things were in motion now!

We had a few days before the jam started, so we began getting to know each other. We outlined our goals:
- Urushianaki is a talented digital artist and wanted to learn how to do pixel art.
- Romulus4444 wanted to learn how to compose synthwave music.
- I wanted to make a game that had a reasonable scope.
This was a good start. Then, the theme of the jam was announced, "Only 1 Inventory Slot". We started brainstorming ideas immediately.
 Everyone on the team was excited to discuss it in length. It was a great brainstorming session. I aggregated the ideas and ordered them based on difficulty. We chose to go with the easiest option, an arcade style shooter. I feel like we made the right decision.
It was finally time to get to work. It was decided we would create a Godot game in C#. I would take the lead in making the gameplay. So, I headed to Godot - C# and got reading. It turns out Godot integrates well with Rider. This is great.
What I've learned so far: Project Management for a Game Jam
- Finding a talented, motivated team is not hard (or maybe I just got lucky!).
- Say "yes" to any idea someone is passionate about spearheading. They will do their best to complete it.
- There needs to be someone to make decisions. My strategy was to leave things up for discussion for several hours, and then finally come down with a decision. This went over well.
- Clearly outline tasks.
Everyone got to work. Day 1 goal: Create a sprite that can walk around and shoot bullets!
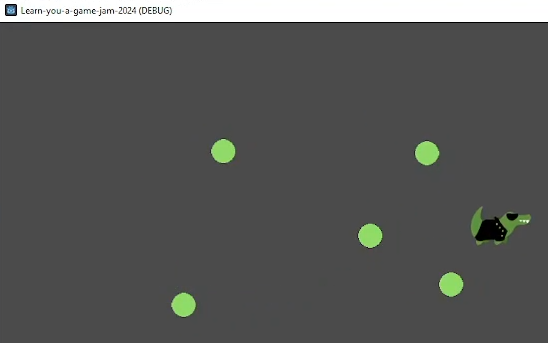
Progress. This was a day of learning how to convert my Godot GDScript knowledge into C# knowledge. As it turns out, it's actually really easy to move from one to the other. Learn a few naming convention changes and a quick tutorial (again, Godot - C#), and you're set. So far, so good.
Day 2 was much of the same. The bullet would now fly across the screen, and I was able to add controller support. Here's the cool thing, one can swap between keyboard and mouse/controller on a whim. I figured out that by listening to any controller input, I could set a global "UsingController" flag to handle the swap while playing the game. So cool!
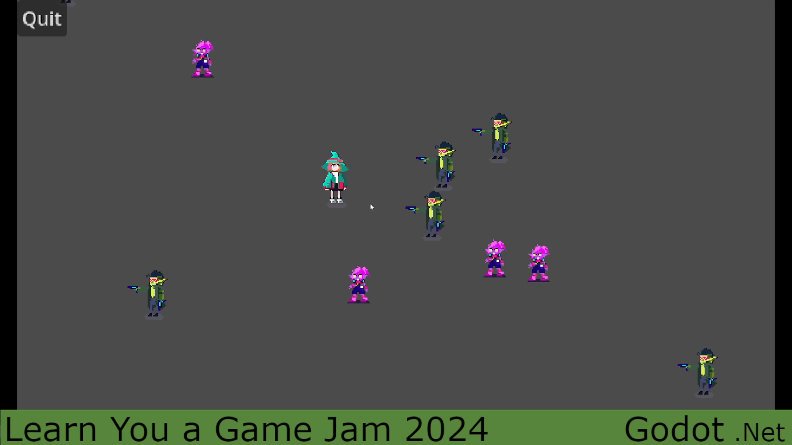
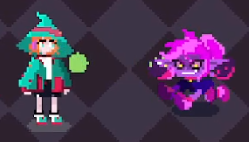
Day 3, I rested. Day 4 was a massive success. By day 4, Urushianaki created placeholder pixel art for all the characters. I imported all of them, and it was really coming alive. I also relearned how to add shaders to sprites. I wanted a way to indicate when one was hurt, and I thought a nice flickering effect would work well. So, I headed over to The Book of Shaders and educated myself on how to do some basic coloring effects. It didn't take long to make something that was good enough.
Day 5, a Sunday, was another wildly productive day. I learned how to make an infinitely scrolling background. The trick is to use Godot's parallax background controls like so:

The ParallaxLayer needs to allow mirroring along the x and y axis with a value larger than the screen. The sprite needs to contain the floor's texture and should have a region as big as the mirroring. Boom! Infinitely repeating floors. Before this, I only thought about using a parallax layer for those neat backgrounds that move at different speeds, but they have all kinds of different uses.
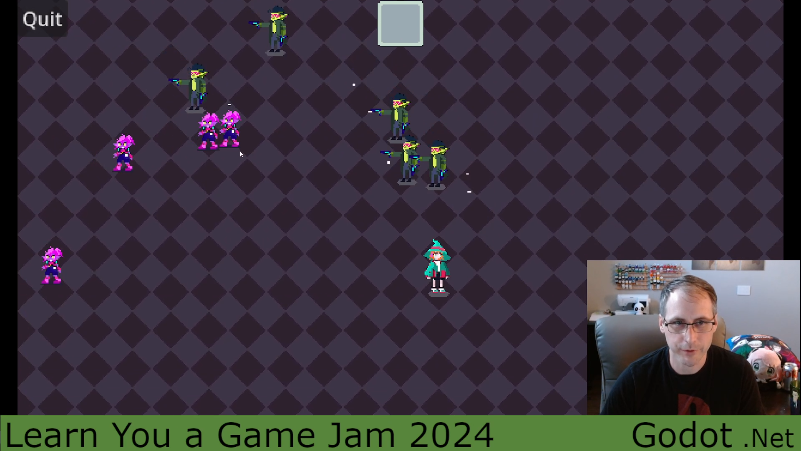
Anyway, I also got the goblins to spawn in and chase after the main character (A witch who casts magic bullets). And, very importantly, I added an inventory slot!! We finally have a game that is fitting the game jam theme. What a time to be alive!
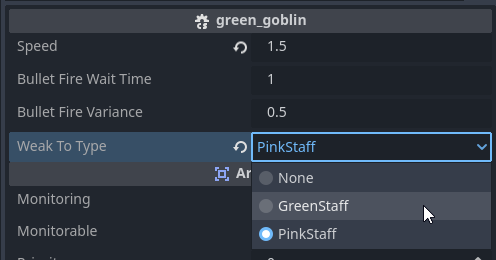
Day 6 was more of the same. I finished off the logic to get the inventory system to work the way I wanted. Something cool I learned was that Godot works great with C# enums. For example, given this:
public enum ItemType { None, GreenStaff, PinkStaff }
You get Godot Editor support like this:
Day 7 and 8 focused on polishing what I had made so far. Items would now despawn when they were off-screen for a few seconds. Monsters got their own damage shader indicator. Little things like that which make the game feel more complete.
Romulus4444 had come through by this point and made some fantastic music for the game, so I got to learn how to deal with audio streams in Godot. Here was my strategy, I would have an autoloaded scene that handled the music for the game. When a scene loads, it would tell this global scene what song to play. I got into a bit of a tailspin trying to figure out how to make this all work. It turns out, a reference to the autoloaded scripts need to be stored in the _Ready() method. Otherwise, it's not always so clear when Godot will let you access the root node and when it won't.
private gm global;
public override void _Ready() { global = GetNode<gm>("/root/GM"); }
Day 10, I rested.

Day 11, it was time to build a life bar! My first instinct was to build it as a tile map. I figured each tile could either be a full heart or half a heart. This... did not go so well. Part of the problem was I was having a hard time understanding the TileMap's SetCell function. I don't know why, but this is the third Godot game where me and TileMaps just did not get along. It took awhile, but I figured out what magic spell to cast to get this to work the way I wanted. And, then... I just wasn't happy with the result. I felt like I wasted so much time. I took a break, and wouldn't ya know it, I came up with a new idea. Just use sprites!
Here was the new plan. Have a LifeBar parent node that programmatically builds an HP bar. I landed on this:
var x = 0;
var odd = hp % 2 == 1;
for (int i = 0; i < hp / 2; i++)
{
    var heart = HeartScene.Instantiate<AnimatedSprite2D>();
    heart.Position = new Vector2(x, 0);
    x += Offset;
    AddChild(heart);
}
if (odd)
{
    var heart = HeartScene.Instantiate<AnimatedSprite2D>();
    heart.Position = new Vector2(x, 0);
    heart.Frame = 1;
    AddChild(heart);
}
So, given 5 hp, it would plop down 2 full sized hearts and then 1 half heart. Easy! Plus, now that we have sprites, we can do fun things with them. Like, make them wiggle when the HP gets dangerously low.
Day 12, another Sunday, another very productive day. I decided it was time to do some odds and ends. First, I wanted to build a volume slider. The way it works is, I have a default slider control that'll go from 0.0 to 1.0. This is then transformed into a decibel value using the following built-in function
Mathf.LinearToDb(Volume)
This sets the volume level in the global autoloaded script that plays music. I also added a hard-coded limit to ensure the music doesn't play at above 3 Db the intended volume, just in case. This saved my ears at one point when I accidentally programmed it to set the volume to a deafening 33 Db 🤦♂️
Furthermore, the volume slider's position is saved to the player's settings file. I didn't know this before, but Godot has a really handy ConfigFile class for this sort of thing. It makes it easy to create a config file and load settings from it.
That was only the beginning. I also completed a simple victory screen, a game over screen, a credits screen, and finally a way to pause the game. I'd never in my entire life added a pause button to a game before, believe it or not. However, it's pretty easy! Godot has something called Pausable nodes. In fact, it's built into "Node", the most basic Godot building block. I went through this tutorial and learned how to bring the pause screen to our game.
It was also on this day that Kay had to drop out due to personal reasons. She continued to share her positive attitude and support with the team 💚
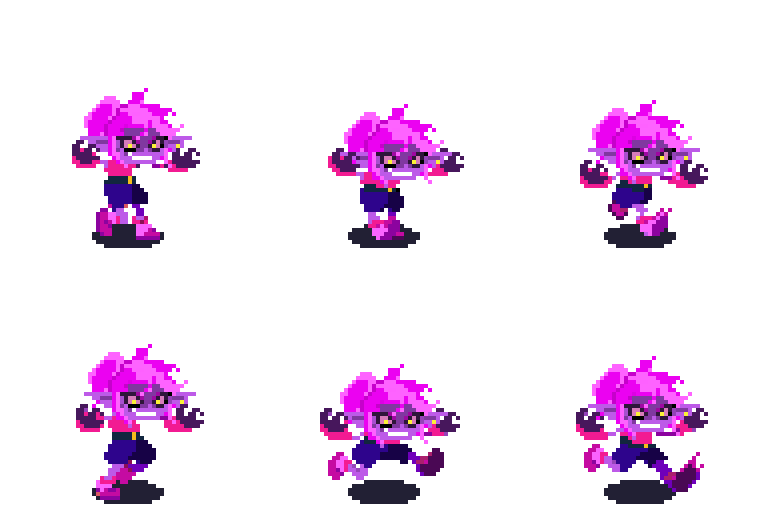
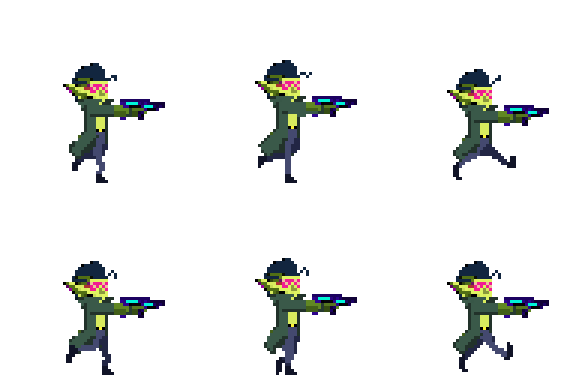
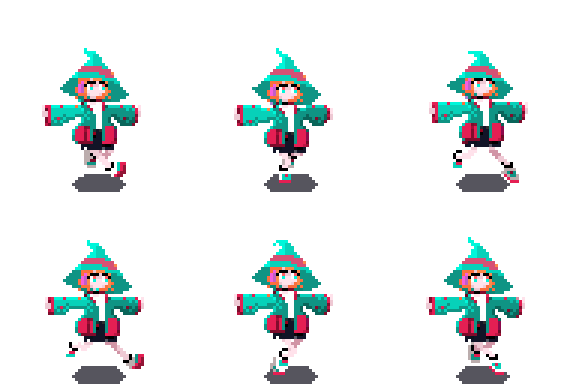
Day 13, G O B L I N M O D E was added, which is basically a never-ending survival mode. Bigger and bigger waves of goblins will attack forever! Also, all characters and mobs are now fully animated.
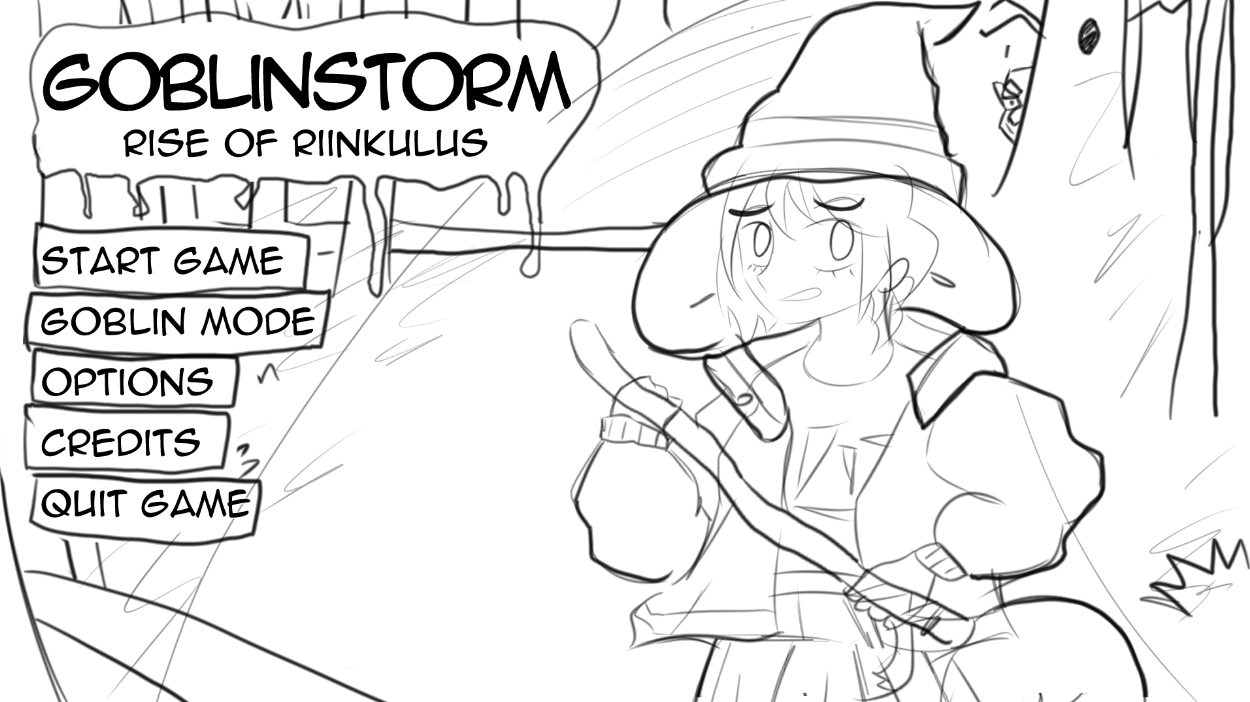
Day 14 and 15, the final day and still so much to do! Artiks submitted all their artwork. We now have an amazing title screen, logo, and cover image! I was able to use them in creative ways. For example, the Game Over screen uses a shader on the background that eases it in.
public override void _Process(double delta){
    timeSinceSceneStarted += delta;
        double duration = 10; // The duration over which the transformation should occur
    double startValue = 0.7;
    double endValue = 0.3;
    double t = Math.Max(0, timeSinceSceneStarted - 4) / duration;
    t = Math.Min(t, 1); // Ensure t doesn't exceed 1
    double interpolatedValue = startValue + t * (endValue - startValue);
    (_backgroundTextureRect.Material as ShaderMaterial)?.SetShaderParameter("difference", (float)interpolatedValue);
}
Shader logic:
void fragment() {
    // stackoverflow.com/a/60068021
    vec4 tex = texture(TEXTURE, UV);
    COLOR.rgb = tex.rgb - vec3(difference);
    COLOR.a = tex.a;
}
Furthermore, I learned how to use Godot's AnimationPlayer to make cool tweening effects. It reminded me of working in Macromedia Flash 8 but way better.
There were only two things left that I had to add before I could call it complete. A tutorial and some sound effects. The tutorial was simple enough. Until the player completes certain goals, messages appear on the screen giving directions. Sweet and simple. Sound effects, on the other hand, took waaay longer than I ever imagined. It's well past midnight because of sound effects. Eventually, I found a cool site called https://sfxr.me/. So, I whipped together 9 unique sounds and added them to the game. I also added a sound effects volume slider.
That was it! The game is now complete. I learned more than I ever imagined I would in these last two weeks, and I made a few friends along the way.
Files
Get Goblinstorm: Rise of Rinkollette
Goblinstorm: Rise of Rinkollette
Our Learn You a Game Jam 2024 Submission - Destroy the Goblins, Rinkollette!
| Status | Released |
| Authors | MrOnosa, Urushianaki Deneb, Dr. Romulus |
| Genre | Shooter |
| Tags | 2D, Bullet Hell, Game Jam, goblins, Godot, Short, Singleplayer, Twin Stick Shooter, witch-protagonist |
| Languages | English |
| Accessibility | Color-blind friendly |
Leave a comment
Log in with itch.io to leave a comment.